How to measure window sizes for replacement in Canada
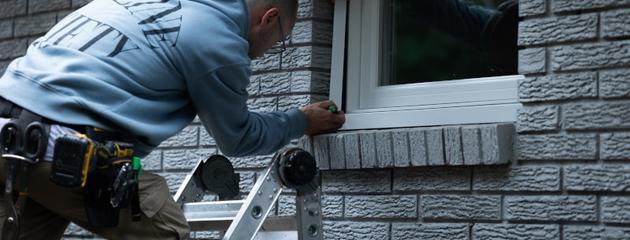

Measure the opening before you pick a size
Window sizing tends to go wrong in a predictable way. Someone finds a chart of standard sizes online and matches the closest number to the window they can see, or runs a tape across the glass and writes down what it says. The order goes in, the unit arrives, and it does not suit the wall: too small to fill the opening, too large to sit properly in the frame, or right on width and wrong on height because the wall settled decades ago.
Two details cause most of that trouble. The first is that a window has more than one measurement. The rough opening is the framed hole in the wall, the unit size is the manufactured window that sits inside it, and the glass you can see is smaller than both. Order from the glass and you will undersize the window every time. The second is units of measure. Canada is officially metric, but the window trade still runs largely on inches, so quotes and shop drawings often lead with inches and list millimetres alongside. Mixing a width taken in inches with a height taken in millimetres is an easy slip and an expensive one.
Older homes complicate this further, and that is a large share of the housing we work in. Openings in houses built before modern catalogue increments rarely land on a tidy number, walls settle out of square over the years, and wall depth changes with the cladding and the era of construction. Bedroom and basement openings add one more constraint, because egress rules set a minimum clear opening that a stock unit can quietly fail even when the width and height look right on a chart. In retrofit work, “custom” usually just means a window built to fit the opening you already have.
This guide stays on measuring and the standard-versus-custom decision: how sizes are written in Canada, what to measure and in what order, how to tell whether an opening is square, and when a catalogue size is realistic versus when a custom unit is the safer order. If you are looking for common dimensions by room and window style instead, our room-by-room guide to standard window sizes in Canada covers that side.
Key takeaways
- Canadian window specs usually list width × height, often in inches first, with millimetres alongside.
- The rough opening is the framed hole in the wall. The finished window unit is smaller, so there is room to shim, insulate, and seal.
- Replacement sizing starts from the existing opening. New construction sizing starts from the framed rough opening in a new wall.
- “Standard” sizes are common industry ranges, not a single national catalogue. Older homes and egress openings often need a custom fit.
- A professional site measure is still the safest step before you order. Guessing from the glass alone is a common (and costly) mistake.
How window sizes are written in Canada

In Canadian residential work, a window size is almost always written as width × height.
Example: 36" × 48" means 36 inches wide and 48 inches tall. The metric pair is often shown as 914 mm × 1219 mm (exact conversions vary slightly by manufacturer rounding).
Metric vs imperial in practice
Canada’s official system is metric, but the window trade still works heavily in inches. Many components and North American supply chains are imperial, so quotes and shop drawings often lead with inches and add millimetres in parentheses.
What matters for homeowners:
- Ask which unit the quote uses, and stick to a single system when comparing options.
- Do not mix a width taken in inches with a height taken in millimetres.
- Treat published size charts as reference ranges, not a guarantee that your opening matches.
Rough opening vs window size
These terms get mixed up constantly. They are not the same measurement.
| Term | What it means | Why it matters |
|---|---|---|
| Rough opening (RO) | The clear framed opening in the wall | This is the planning dimension for new construction and many replacement scopes |
| Window / unit size | The overall size of the manufactured window | Slightly smaller than the RO so the unit can be shimmed and sealed |
| Daylight / glass size | The visible glass area only | Useful for light planning, not for ordering the unit |
If you measure only the glass, you will undersize the order. If you treat the old sash size as the rough opening without checking the frame and wall, you can still miss the true clear opening.
Replacement sizing vs new construction sizing
Replacement windows
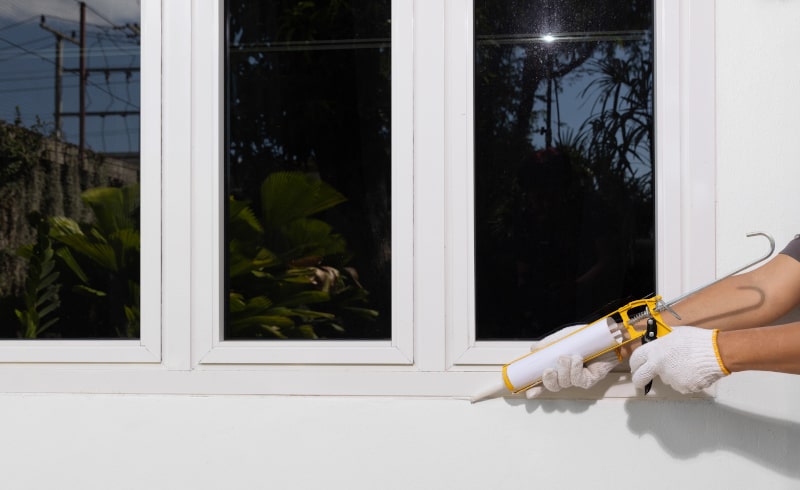
Most retrofit projects start from what is already in the wall. The installer confirms whether the existing frame can stay (insert/pocket-style approaches vary by product and condition) or a full-frame replacement is needed. Either way, the decision begins with accurate opening measurements, not with a wishlist size from a brochure.
At Canadian Choice Windows & Doors™, most projects are retrofit and custom-fit to the opening. Catalogue “standard” dimensions are a helpful reference, but the unit is built to the home.
New construction windows
On a new build or addition, the framer sets the rough opening to the window schedule. The manufacturer then supplies a unit sized to that RO (minus the install clearance the brand specifies). Changing the window size late in the build usually means changing framing, not just the glass.
How to measure for a replacement window
You can take preliminary measurements at home. Final order sizes should still come from a professional site measure.
What you need
- A reliable tape measure
- A notepad (or phone notes)
- A level or straightedge if the opening looks out of square
- Daylight so you can see the full frame
Step-by-step
- Decide what you are measuring. For planning, measure the clear opening inside the existing frame (or the rough opening if the old unit and trim are coming out). Confirm the scope with your installer before you treat any number as final.
- Measure width in three places: top, middle, and bottom. Record the smallest width.
- Measure height in three places: left, centre, and right. Record the smallest height.
- Check for out-of-square. Compare diagonal corner-to-corner measurements. A large difference means the opening is racked and may need custom attention.
- Note depth and exterior conditions. Wall depth, exterior cladding, brickmould, and interior trim all affect the install detail even when width and height look “standard.”
- Write sizes as width × height in one unit system, and label each opening by room.
What not to do
- Do not order from the glass size alone.
- Do not assume every window on the same elevation is identical. Measure each opening.
- Do not ignore egress needs in bedrooms and basements. Minimum clear opening rules can override a preferred catalogue size.
- Do not treat an online size chart as a substitute for a site measure.
When standard sizes work, and when you need custom
“Standard” in Canadian windows usually refers to common manufacturer ranges for a style, not a universal national size list. Manufacturers also vary within those ranges.
A catalogue size can work when:
- The opening is square and within a common width/height range
- You are not forced into a larger clear opening for egress
- The install approach does not require an unusual frame depth or shape
You typically need a custom size when:
- The opening does not match common increments (very common in older homes)
- You are changing height or width for light, symmetry, or a view
- Egress or ventilation rules require a clear opening a stock unit will not provide
- The wall is out of square, settled, or unusually deep
- You want a shape or combination that is not a stock rectangle
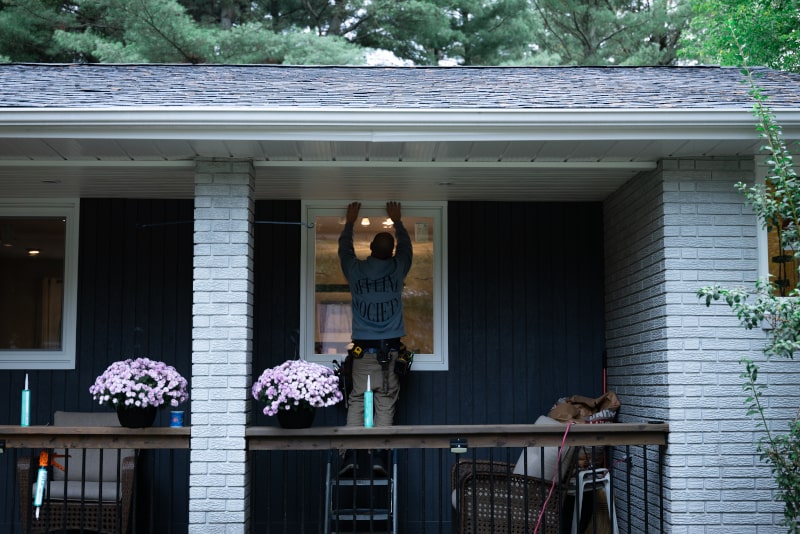
“Standard sizing provides a helpful baseline, but homes aren’t one-size-fits-all. We often adjust for wall structure, code requirements, and homeowner preferences. That’s why professional site measurement is always the first step in our process.” Helen Sin, Consumer Success Manager, Canadian Choice Windows & Doors ™
“We start with standard specifications, but if a homeowner needs more ventilation in a basement or more light in a kitchen, we adapt. It’s all about tailoring the solution to the home, not the catalogue.” Tony Wong, Project Manager, Canadian Choice Windows & Doors ™
Custom does not always mean “luxury.” In retrofit work, custom often means “fits the opening you already have.” That can be the more practical path than forcing a stock size and then fighting gaps, trims, or performance issues.
For a practical look at common sizes by room and style, use the room-by-room standard window sizes guide . This article focuses on measurement and the standard-versus-custom decision.
Code, egress, and why size charts are not enough
Building codes set minimum requirements for emergency escape (egress), daylighting, and ventilation in many rooms. Exact numbers can vary by province and municipality, so always confirm locally.
A common Canadian reference point for egress windows is a minimum openable area around 0.35 m², with no clear dimension under about 380 mm (15"), and the window must open without tools or special knowledge. Basement bedrooms are where homeowners most often discover that a “nice-looking” stock size still fails egress.
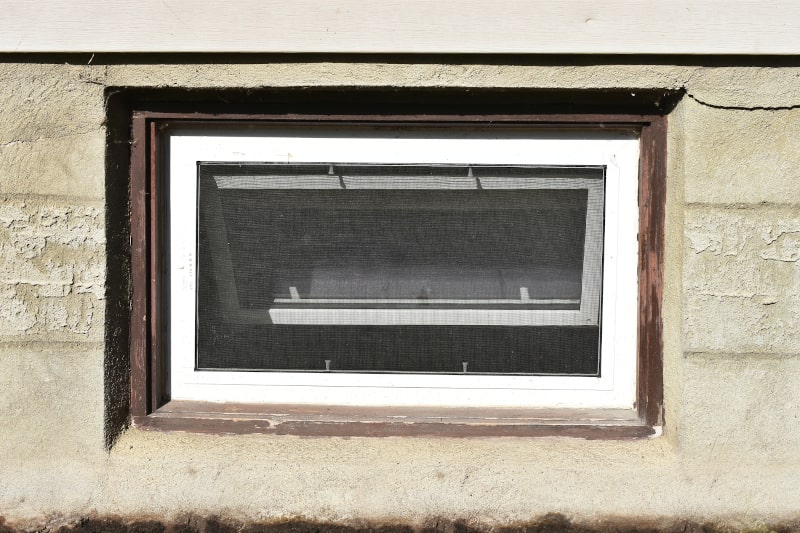
If code needs a larger clear opening than a preferred catalogue unit can provide, custom sizing (or a different operable style) is not optional. It is the compliance path.
Mistakes homeowners make when choosing sizes
- Choosing style before the opening is measured. Looks matter, but the opening and code come first.
- Using one window as the template for every opening. Settlement and old framing create surprises.
- Ignoring egress in sleeping rooms. Fixing this after order is expensive.
- Planning treatments and furniture too late. Height and width affect blinds, drapery, and clearances.
- Skipping the professional measure. DIY notes are useful for planning. Final manufacturing sizes should still be confirmed on site.
Canadian Choice Windows & Doors™ builds uPVC casement windows for Canadian homes, with options such as DraftLOCK performance features and a 25-year transferable warranty. If you are comparing replacement window options, start with a measured opening and an honest standard-versus-custom call, then choose glass and finish.
Frequently asked questions
What is the difference between rough opening and window size?
The rough opening is the framed hole in the wall. The window unit is manufactured slightly smaller so it can be centred, shimmed, insulated, and sealed. Plan from the opening; do not order from the glass size alone.
Do I need custom windows for an older home?
Often yes. Many homes built before modern catalogue ranges have openings that sit between “standard” increments, or walls that are out of square. Custom sizing is usually the cleaner, more energy-efficient fit.
Are window sizes listed in inches or millimetres in Canada?
Both appear. Inches are still common in the trade; millimetres are often listed as well. Pick one system for your notes and confirm which system your quote uses.
Can a standard-size window meet egress requirements?
Sometimes. The unit must provide sufficient clear openable area and meet the minimum clear dimensions under local code. A stock size that looks right on a chart can still fail egress. Confirm with your installer and local requirements.
Is it cheaper to use a standard size?
Catalogue sizes can reduce special-order complexity when the opening truly matches. If the opening does not match, forcing a stock size can create installation problems that cost more than ordering the right custom unit from the start.
How do I know if I need a custom window?
You likely need custom if your widths or heights fall outside common ranges, the opening is out of square, egress forces a larger clear opening, or you are changing proportions for light, symmetry, or architecture. A site inspection is the reliable way to confirm.
Ready for a clear answer on your openings?
If you want help translating measurements into the right fit, book a free consultation with Canadian Choice Windows & Doors™. We will measure on site, explain where a common size works, and where custom is the smarter choice for your home.

1000’s of Colours & Textured Finishes
Transform your home from ordinary to extraordinary with our new coloured and non-glare textured finishes. Available in a wide array of colours as well as custom matched colours for your very own personalized design.
Our Most Popular Replacement Window Colours: